
Elgg Foundation, a nonprofit organization that was founded to govern, protect, and promote the Elgg open source social network engine, manages Elgg. The Foundation aims to provide a stable, commercially and individually independent organization that moves in the best interest of Elgg as an open source project (www.elgg.org).
Elgg is open source social networking software that provides individuals and organizations with the components needed to create an online social environment. It offers blogging, microblogging, file sharing, networking, groups and a number of other features.
Elgg is open source social networking software that provides individuals and organizations with the components needed to create an online social environment. It offers blogging, microblogging, file sharing, networking, groups and a number of other features.
Upload Elgg
- Download the latest version of elgg to your computer and then unzip it.
- On the web server, you can store Elgg in one of two ways:
- In its own directory (i.e. /home/www/elgg)
- In the document root (i.e. /home/www)
- Know more about it by my post "web hosting Basics"
- Upload the files with an FTP client to your web server.
Create a data folder
Elgg needs a special folder to store uploaded files including profile icons and photos. You will need to create this directory.
they recommend that this folder be called "data". For security reasons, this folder must be stored outside of your document root. For example, if Elgg is installed in:
/home/www/elgg/
You might want to create the data folder in:
/home/www/data
Alternately, if Elgg is installed in:
/home/username/public_html/
then you may want to create it in:
/home/username/data/
Once this folder has been created, you'll need to make sure the web server Elgg is running on has permission to write to and create directories in it. This shouldn't be a problem on Windows-based servers, but if your server runs Linux, Mac OS X or a UNIX variant, you'll need to set the permissions on the directory.
If you are using a graphical FTP client to upload files, you can usually set permissions by right clicking on the folder and selecting 'properties' or 'Get Info'.
NOTE: Setting your data directory to 777 will work, but it is insecure and is not recommended.

Create a MySQL database
Using your database administration tool of choice (if you're unsure about this, ask your system administrator), create a new MySQL database for Elgg. You can create a MySQL database with any of the following tools:
- cPanel
- phpMyAdmin
- MySQL commandLine
Creating a database with cPanel

CPanel is a widely used graphical administration tool for websites that provides a wizard for creating MySQL databases.
To make a database using the cPanel MySQL Database Wizard:
1. Log in to your cPanel
2. Click on the MySQL Database Wizard icon.
3. Create a name for the database (e.g. elgg)
4. Create a username (e.g. elgg)
5. Type in a password twice or have the wizard create one
6. Click the All Privileges checkbox
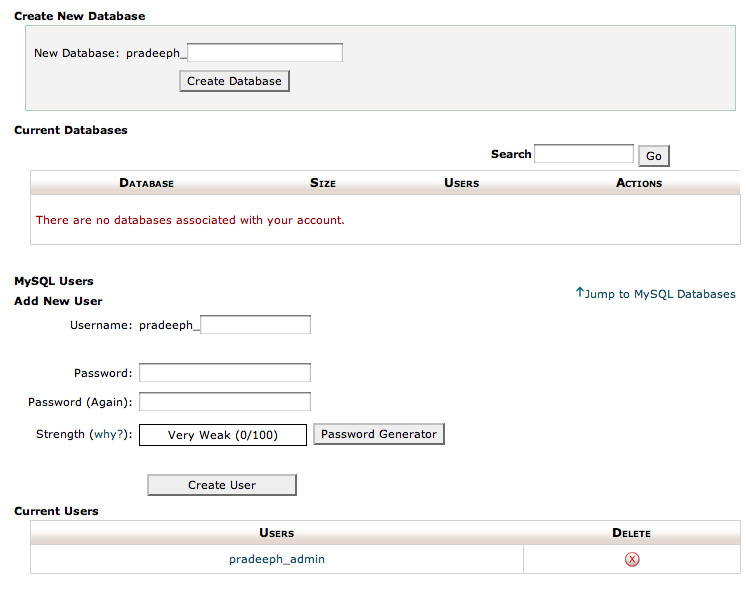
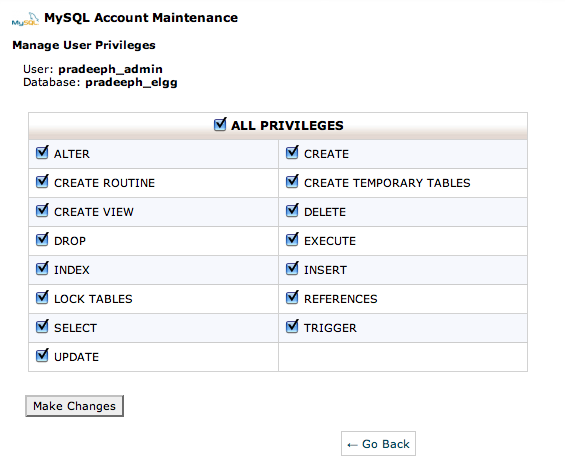
You will be prompted for the database name, the username, and password when you install Elgg. With cPanel, the database and user names must be preceded by the cPanel username and an underscore.
For example:
For example:
- Database: cmsguide_elgg
- Username: cmsguide_admin
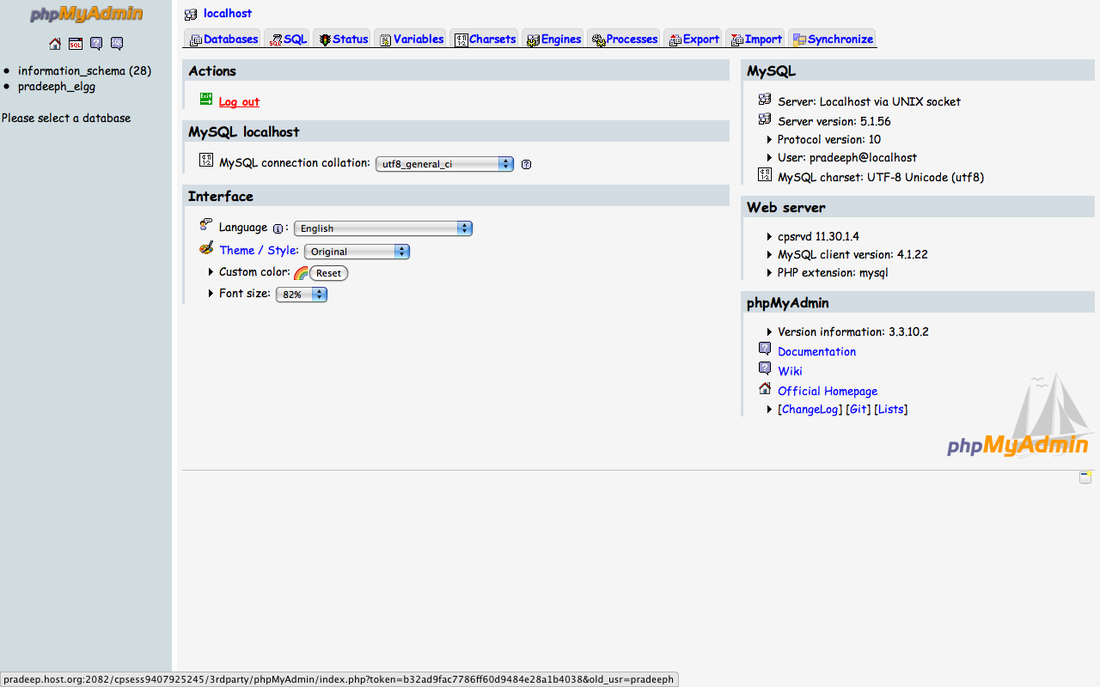
Creating a database with phpMyAdmin
PhpMyAdmin is a popular web-based front end for MySQL Administration. To create a new database, follow these instructions
1. Log in to phpMyAdmin
2. Create the database
3. Select your database on the sidebar menu
4. Go to the Privileges tab and click Add a new user
5. Fill out the top 4 fields, setting Host to local host and then click Go
The database name, username, and password set here are used in the first install screen of Elgg.
Creating a database with MySQL client
To follow these instructions, you must know the root password for the database. This is likely different from the root password of the server.
1. Start mysql client: mysql -u root -p
2. Create database: CREATE DATABASE mydatabasename;
3. Create user: CREATE USER myuser IDENTIFIED BY 'mypassword';
4. Give user permissions to the database: GRANT ALL ON mydatabasename.* to myuser;
Make sure you add a user to the database with all privileges and record the database name, username and password. You will need this information when installing Elgg.
Visit your Elgg site
Once you've performed these steps, visit your Elgg site in your web browser. Elgg will take you through the rest of the installation process from there. The first account that you create at the end of the installation process will be an administrator account.

 RSS Feed